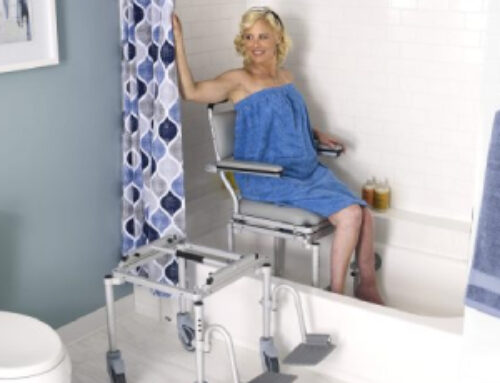
A lot of accidents happen every day in the shower. That’s why the necessity of a safer showering experience is immense. And with the installation of grab bars in shower, the accessibility and beauty of a bathroom increase.
However, the installation process can be tricky without proper guidelines. That’s why, in this article, we will discuss the complete procedure. We will also discuss the ideal positions to place the grab bar and the different types of bars available. Keep reading to learn more.
The Importance of Grab Bars in Bathroom Safety
You can’t possibly think of a safe home without a safe bathroom. Grab bars greatly enhance this aspect. Grab bars work like constant support when people get in and out of the bathtub or shower. They stabilize people who need help standing or sitting. They can also assist wheelchair users with toileting and bathing.
So, it’s evident that after installing grab bars correctly, your bathroom will be a lot safer.
Types of Bathroom Grab Bars and Safety Rails
There are many types of grab bars available on the market. You need to pick one that perfectly suits your or your loved one’s requirements. That’s why we will discuss some of the types to give you a better idea.
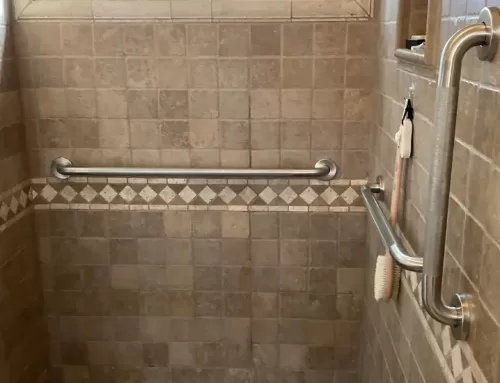
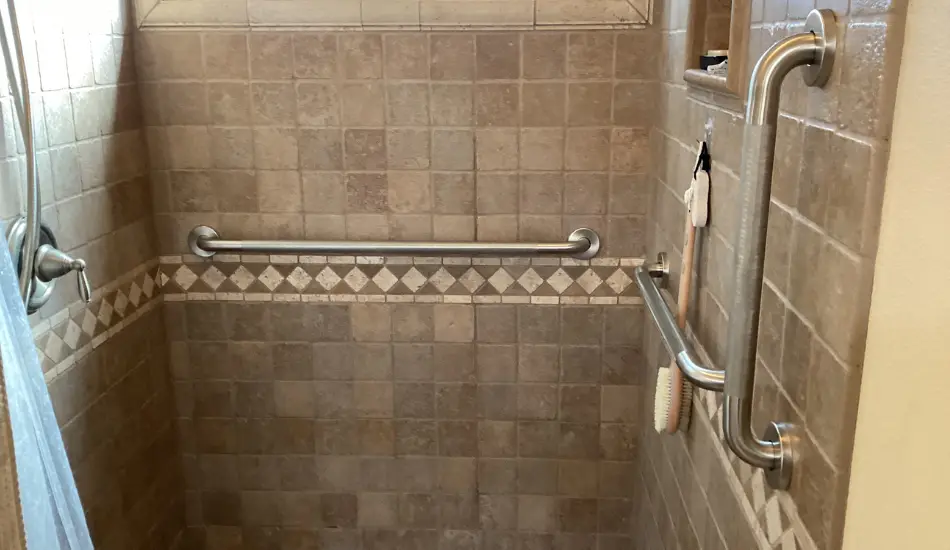
- Straight grab bars: There are different lengths and finishes for straight grab bars. You can put them in any part of the bathroom.
- Curved grab bars: Some curved bars have an “S” or wave shape that makes them look more stylish than purely functional. For some, the curved shape makes the bar easier to use. The shape can also help them stay upright if they trip.
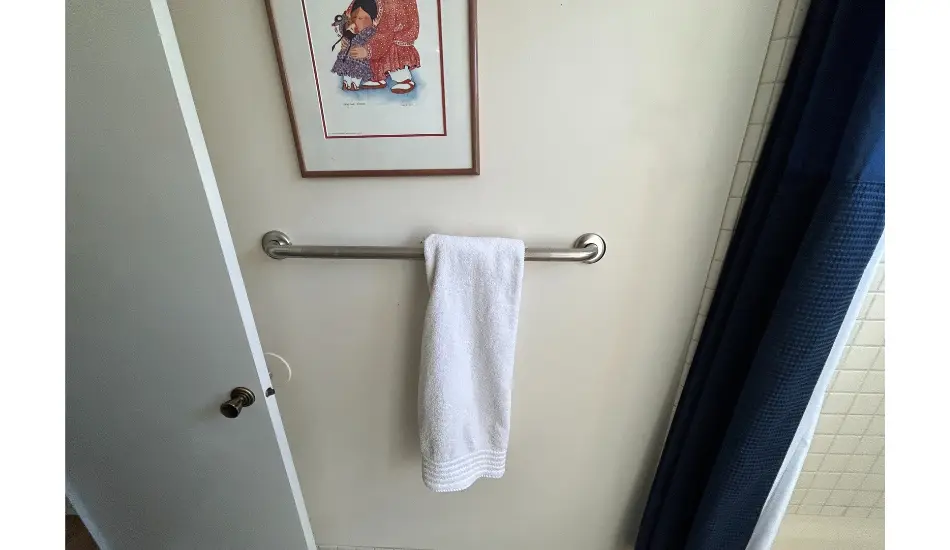
- Multi-use safety bars: These are just as safe as straight and curved bars, but they do two things at once. They might have a towel bar or a shelf for shampoo, soap, and other things.
- Moveable grab bars: Moveable bars fold flat against the wall when not in use. They can help you save space in a small environment.
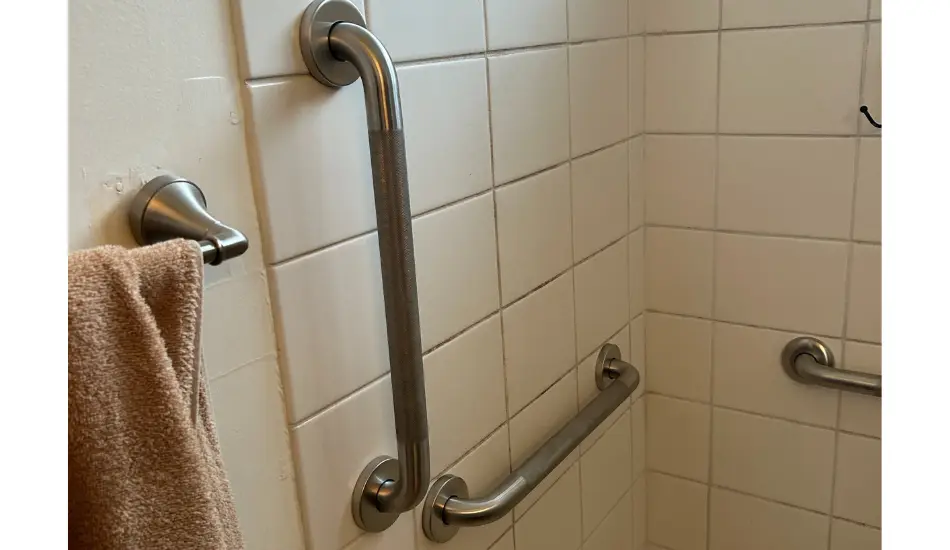
- Angled grab bars: You can angle these at 90 degrees to make them stable in a corner. Angling them just a little will make them work better in places where the ground is not level.
- Safety rails: These look like handrails for stairs. You can simply put them where a longer bar is needed. One example is a safety rail that goes from the sink to the tub or shower in a big bathroom.
Installation of Grab Bars in Shower
When it comes to installing grab bars, the first things you need to look at are tools and supplies. The following table will give you a sound idea of the equipment:
| Tools | Supplies |
|
|
After you have everything you need, you will have to clean the bathroom in order that the caulk can stick. To give optimal outcomes, caulk should not be applied on a dusty, dirty, and oily surface.
Dish soap and warm water should do away with those layers of grime. Take time to dry your shower in advance before you begin your project.
You should ensure that you have a sufficient space in your shower where you can put grab bars. According to ADA (Americans with Disabilities Act), the gripping distance should be 1 1/4 to 1 1/2 inch and the distance between the wall and the grab bar should be 1 1/2 inches.
Another thing is to ensure that the adjacent walls of your grab bar are not rough and sharp. The radius of the edges must measure not less than 1/8 inch. The next installation procedure is as follows:
-
Determine the Position
After you have confirmed that your spacing is within the ADA standards, then you must determine the location of the grab bar. On the whole, place your grab bar at about the waist level. Checking your shower to locate the position will be necessary for you and your family.
-
Use a Stud Finder
After getting a general idea of where you want to put the grab bar, you need to find the studs that are there. Locate the studs with a stud finder, and use painter’s tape to mark their left and right edges. Do this again and again on both ends of your grab bar. Then, make a light mark in the middle of it with a pencil.
If you do not know where your stud is and how far away it is, you could drill into plumbing or electrical lines.
It is harder for a dielectric constant (DC) stud finder to find your stud if your walls are made of tile or are thicker than drywall. You could use a deep-scan stud finder, move it slowly across the floor, and mark every spot where it gives you a good reading. The most likely place for your stud to be is in an area with several marks.
You could also find the studs in the room that share a wall with your shower. After that, find the distance between those studs. Use that number to figure out where the studs in your shower should go.
-
Mark the Placement of the Screws
Put your grab bar where you want it to go after finding your studs. Then, use a pencil to mark where you will need to put your screws. Check if your bar is level with a leveler.
-
Pre-drill the Pilot Holes
To do this, use your drill to make small holes. For drywall installations, use a drill bit that is just a bit smaller than the mounting screw. Use a glass-and-tile bit that is about half the size of your mounting bit to drill through the tile.
Keep drilling until you reach the end of the tile. Then, use a wood bit to drill six-eighths of an inch into the stud. See the guide that came with your tool for exact instructions on what size and type of bits you need.
-
Use Wall Anchors and Install the Grab Bar
Following the holes you already drilled in the wall, attach the grab bar again using the screws that came with it. Hang your grab bars on a tiled wall if you can not find the studs. You will need to use wall anchors that are the right size.
-
Spread Caulk Around the Seam
After you put up your grab bar, use your caulk gun to seal the seams. This will keep water from getting into your walls through the holes you drilled.
After you are done caulking, slide the metal cover plates back onto their appropriate ends. Once the caulk is dry, make sure your grab bar is safe and secure by pulling on it.
Where Should Grab Bars Be Placed?
It is important to always think about the user’s needs when deciding where to put a grab bar. The following are places where grab bars should ideally be put:
- One on the tub or shower wall, 34–36” above the floor, to help users stand or get out of the shower.
- One on the shower’s back wall, 9 inches above the seat height (if a seat is present) or at a comfortable sitting height.
- To help users get up from a built-in shower seat, place a vertical grab bar on the side wall, 18 inches from the back wall.
- A 42” side wall bar and a 32” back wall bar in the toilet.
FAQ
Q. Can You Install Grab Bars in an Existing Shower?
Ans. Yes, existing showers can have grab bars. Following the above instructions, you can DIY this installation with some knowledge. If you are not sure how to install tile walls, hire a pro to make your shower more accessible.
Q. How Many Grab Bars Are Needed in a Shower?
Ans. Your needs or that of a loved one would determine the number. If you just need shower entry and exit assistance, use one grab bar. You might need another bar if you have trouble moving around inside the shower.
Q. Why Are Grab Bars Installed at an Angle?
Ans. Diagonal grab bars are more stable and accessible for some people. If multiple people use them, installing them at an angle accommodates different heights. They work well in showers that can’t space horizontal bars.
Q. How Much Weight Should a Grab Bar Hold?
Ans. ADA and IRC codes require bathroom grab bars to support 250 pounds. However, some grab bars can hold up to 500 pounds.
Q. What Is The Good Length For A Grab Bar?
Ans. Standard grab bar lengths are 12, 16, 18, 24, 32, and 36 inches. The ideal shower grab bar length depends on the user’s needs and space.
Q. What Are Common Materials for Grab Bars?
Ans. Stainless steel, brass, aluminum, and plastic are some of the most common materials. Consider the user’s needs, budget, and design preferences when choosing a grab bar material.
Q. What Is the Difference Between a Grab Bar and an Assist Bar?
Ans. A grab bar supports the user’s full weight, while an assist bar does not. The terms are sometimes used interchangeably, but understanding the difference helps users choose the right bar.
Conclusion
Grab bars have emerged as fundamental security items for bathrooms. However, the installation requires careful and considerate strategies. You should keep the necessary tools and supplies ready for the process.
After that, selecting the right position for the bars and finding the studs will be necessary. Then, with the help of some drilling and caulking, you can easily install the grab bar. If you don’t feel confident enough, then always ask for professional help.
And to pick the best-quality grab bars, consider Call Before You Fall. We can provide you with bars based on your demand. Contact us today and purchase from our top collection to make your bathroom safe.